Accessing the Solar system through the new browser-based interface
Why is the login method changing? |
With the new HTML5 interface, access to the Solar system is platform-independent. It can be used from Windows, macOS (OS X), Linux and Android. Only an HTML5-compatible browser is required. Molnár & Partners recommends Microsoft Edge.
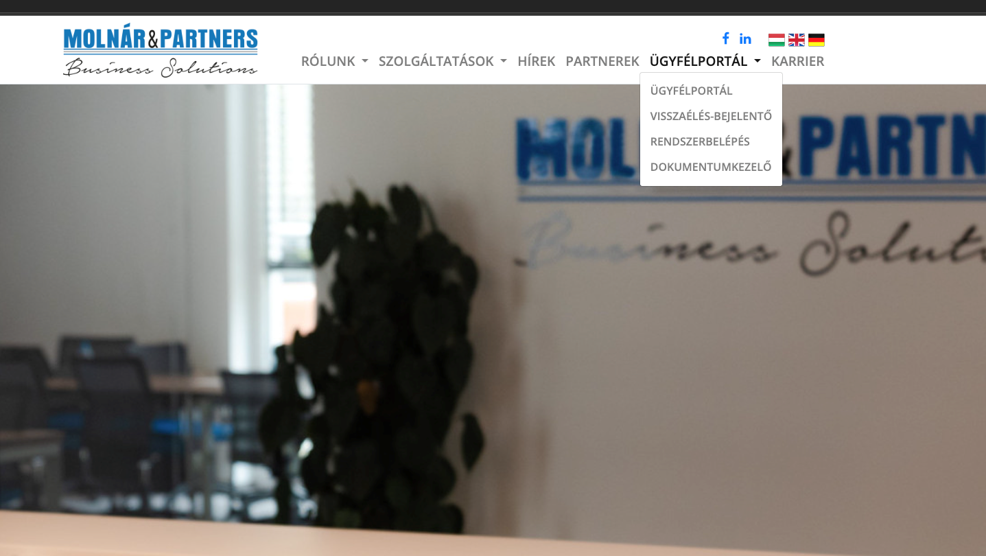
In the Customer Portal menu, select System Login (Rendszerbelépés).
IMPORTANT: Except for test users, all other users will be able to log in through this interface from Monday, 9 November 2026. |
Signing in
Clicking System Login opens the new HTML5 sign-in page.
Enter the username and password, then click Sign in. Enter the username in the format shown: mb\username.
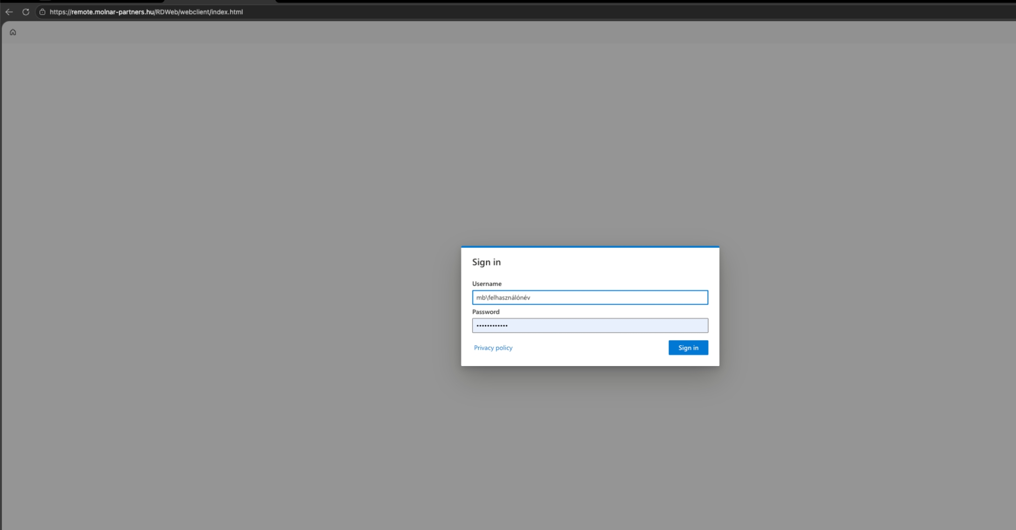
Entering the username and password.
First sign-in: configuring the web interface
After a successful sign-in, the main screen is displayed. The first time, click the gear icon in the upper-right corner.
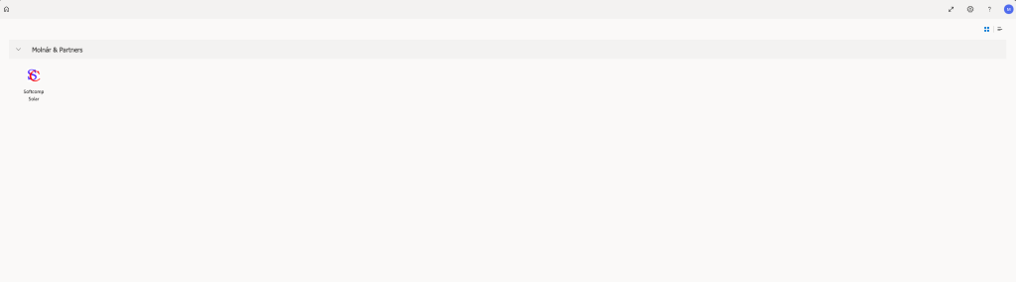
Main screen and the Solar icon.
In the Settings panel, configure the options as shown in Figure 4. In particular, resources should open in the browser, and native display resolution and enhanced graphics decoding should be enabled.
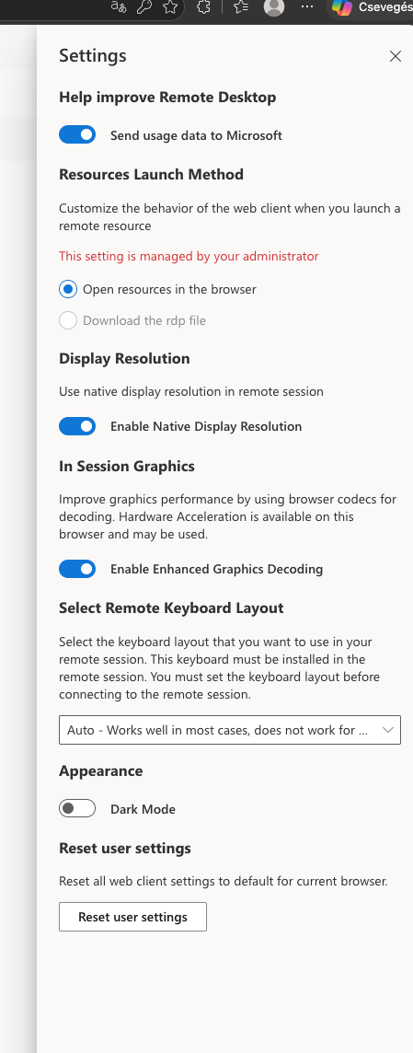
Recommended web client settings.
Starting Solar for the first time
Return to the main screen shown in Figure 3, then click the Softcomp Solar icon.
At the first launch, the Access local resources window appears. Select the options shown in Figure 5, then click Allow. This is only required for the first launch.
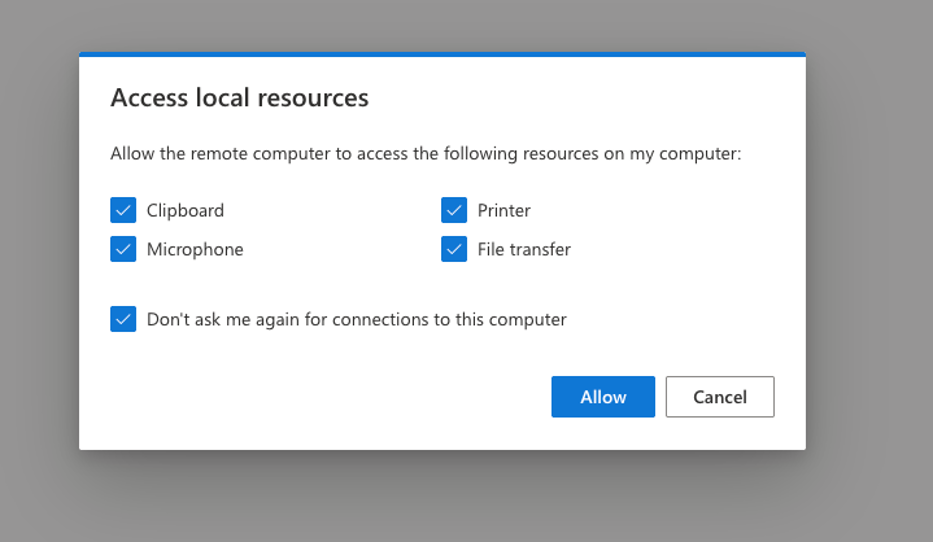
Allowing access to local resources.
If the browser requests access again later, check that the same browser and the same browser profile are being used. |
Using Solar and uploading files
After permission is granted, Solar starts in the browser.
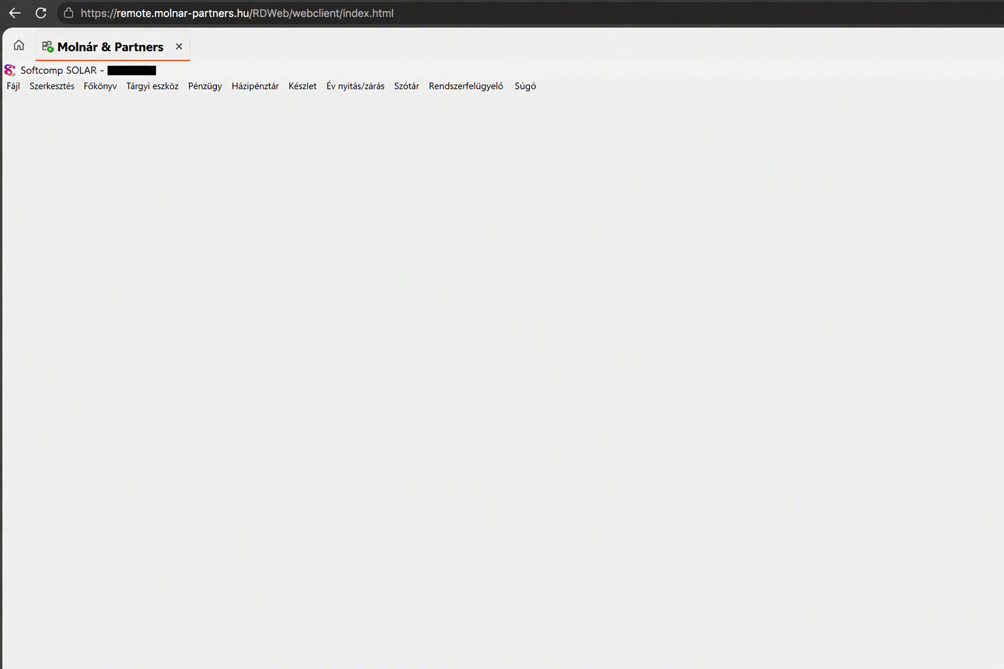
Solar running in the browser
The method for uploading invoices and other files has changed. After switching to the new login method, the former C:\Solar folder is no longer required.
Uploading a file from the partner’s own computer
File upload is started using the upward-pointing arrow on the top toolbar. Clicking it opens a file selection window where a file stored anywhere on the partner’s computer or network can be selected. The subsequent attachment process remains unchanged.
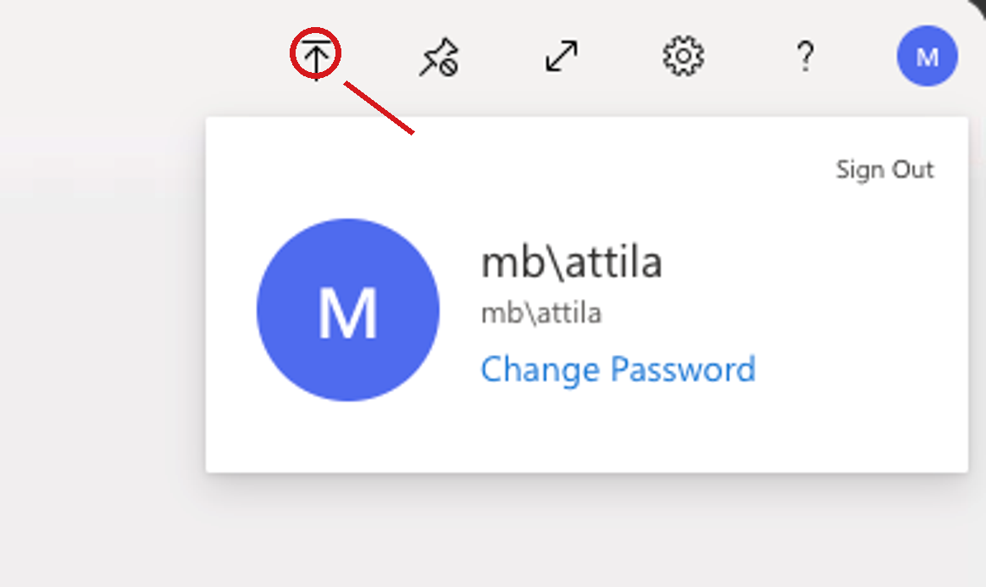
The file upload icon highlighted on the session toolbar
Important change when viewing files: when an attached file is opened for viewing, it is not displayed directly on the screen. The system automatically places the file in the Downloads folder on the user’s own computer. |
Changing the password and signing out
Click the user icon in the upper-right corner. In the menu, select Change Password to start changing the password. To exit the system correctly, click Sign Out.
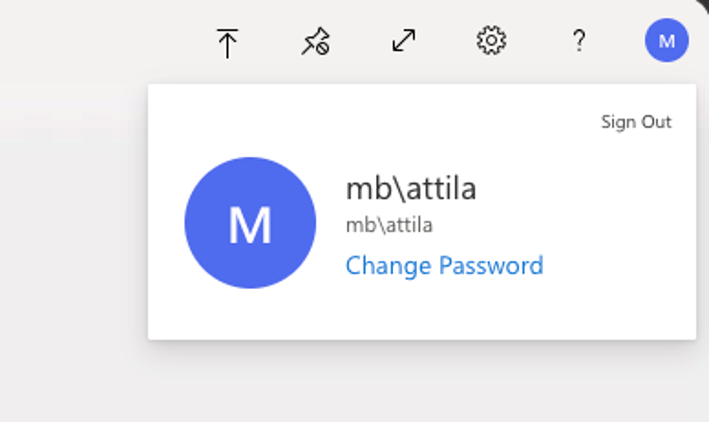
Change Password and Sign Out
In the password change window, enter the current password, then enter the new password twice and click Submit (Küldés).
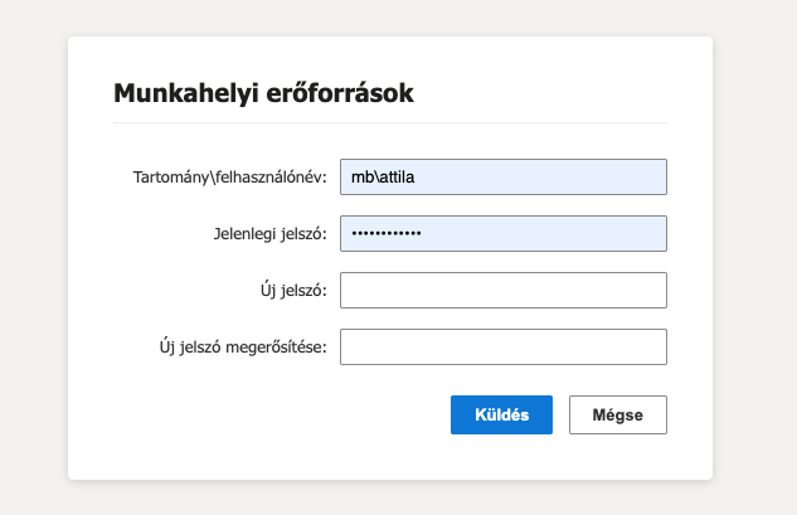
Changing the password
Printing and Excel outputs
When printing, no printer needs to be selected and no printer can be selected. The system creates a PDF from the document and automatically places it in the Downloads folder on the user’s own computer. |
The same applies when data is requested from Solar in Excel format: the resulting file is placed in the Downloads folder on the user’s own computer.
Quick checklist
- Use Microsoft Edge whenever possible.
- Enter the username in mb\username format.
- At the first sign-in, check the settings under the gear icon.
- At the first Solar launch, allow access to local resources and click Allow.
- Use the upward-pointing arrow to upload files; the C:\Solar folder is no longer required.
- Find downloaded documents, print PDFs and Excel files in the Downloads folder on the user’s own computer.
- Exit using Sign Out.
Support and contact details
If you have any questions or encounter a problem, please contact us: |